Get monthly coaching and support to FINALLY gain momentum in your business without burning out in the process. 🦄 Learn more about WAIM Unlimited.


I had this dream of myself in a big studio, hands covered in paint, jamming out to my favorite tunes and dragging color around a canvas.
When I woke up, I pretty much high-tailed it to the nearest art store to bring my dream to life.
I had no idea what supplies to buy (or what to do with them), so I just grabbed a mixture of craft paint, professional-grade acrylic paint, a boatload of canvases and headed home.
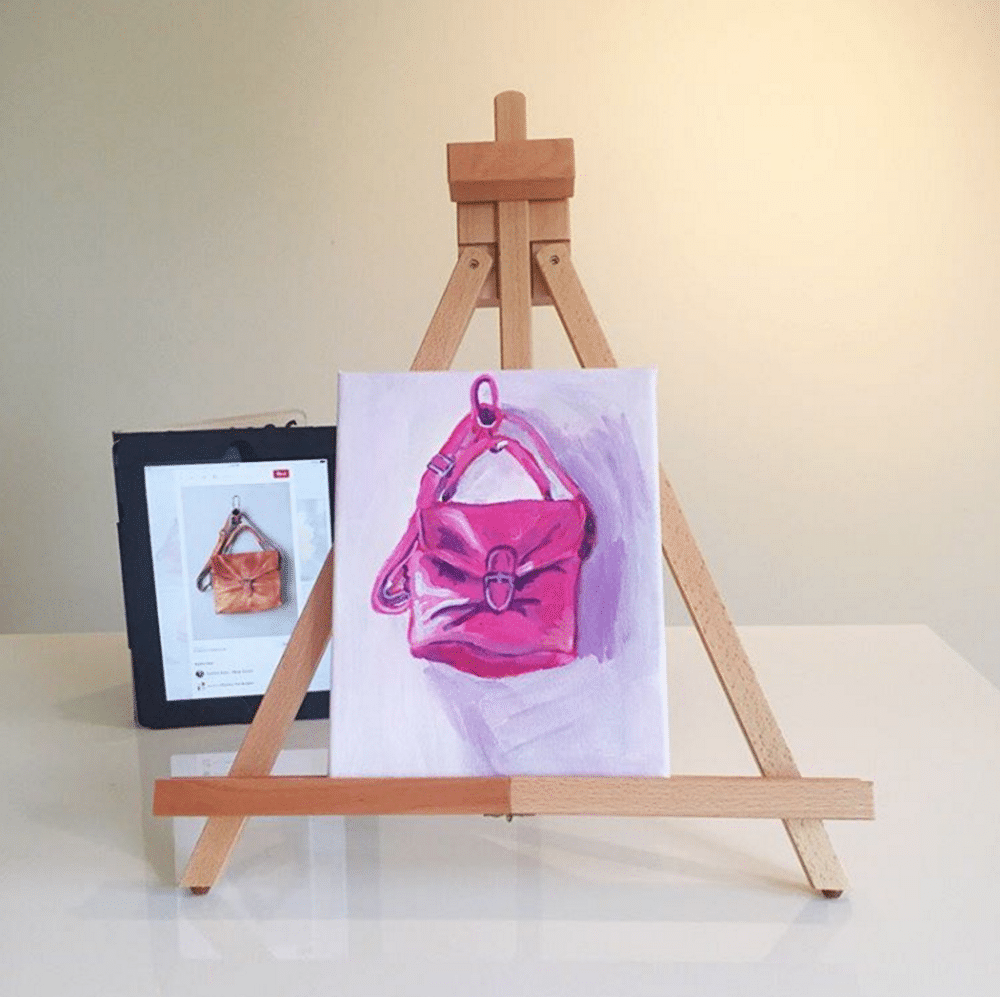
I started my acrylic paint experiments by trying to paint images of objects I found online. I did my best to study the light and shadows and keep in mind perspective and proportion.
I felt so restricted by the process, and trying to paint with any semblance of realism was robbing me of the joy I experienced in my painting vision.
That’s when I started to explore the idea of going abstract with acrylic painting.
I was much more interested in things like lines and patterns and shapes than I was any particular subject. Still, I found myself intimidated staring at my blank canvas with literally infinite possibilities of color, pattern, shape, and composition.
For a while I just sort of sat, paralyzed, afraid to paint anything at all. I was afraid of creating something “ugly,” focusing WAY too much on the outcome rather than the process.
The only way to get over my fear of not knowing where to start was to start anyway.
So I set up a small “studio” (read: table covered in a drop cloth) in our guest room and I began painting every day. I started small by experimenting in a mixed media sketchbook and trying out different brushstrokes, color combinations, and styles.
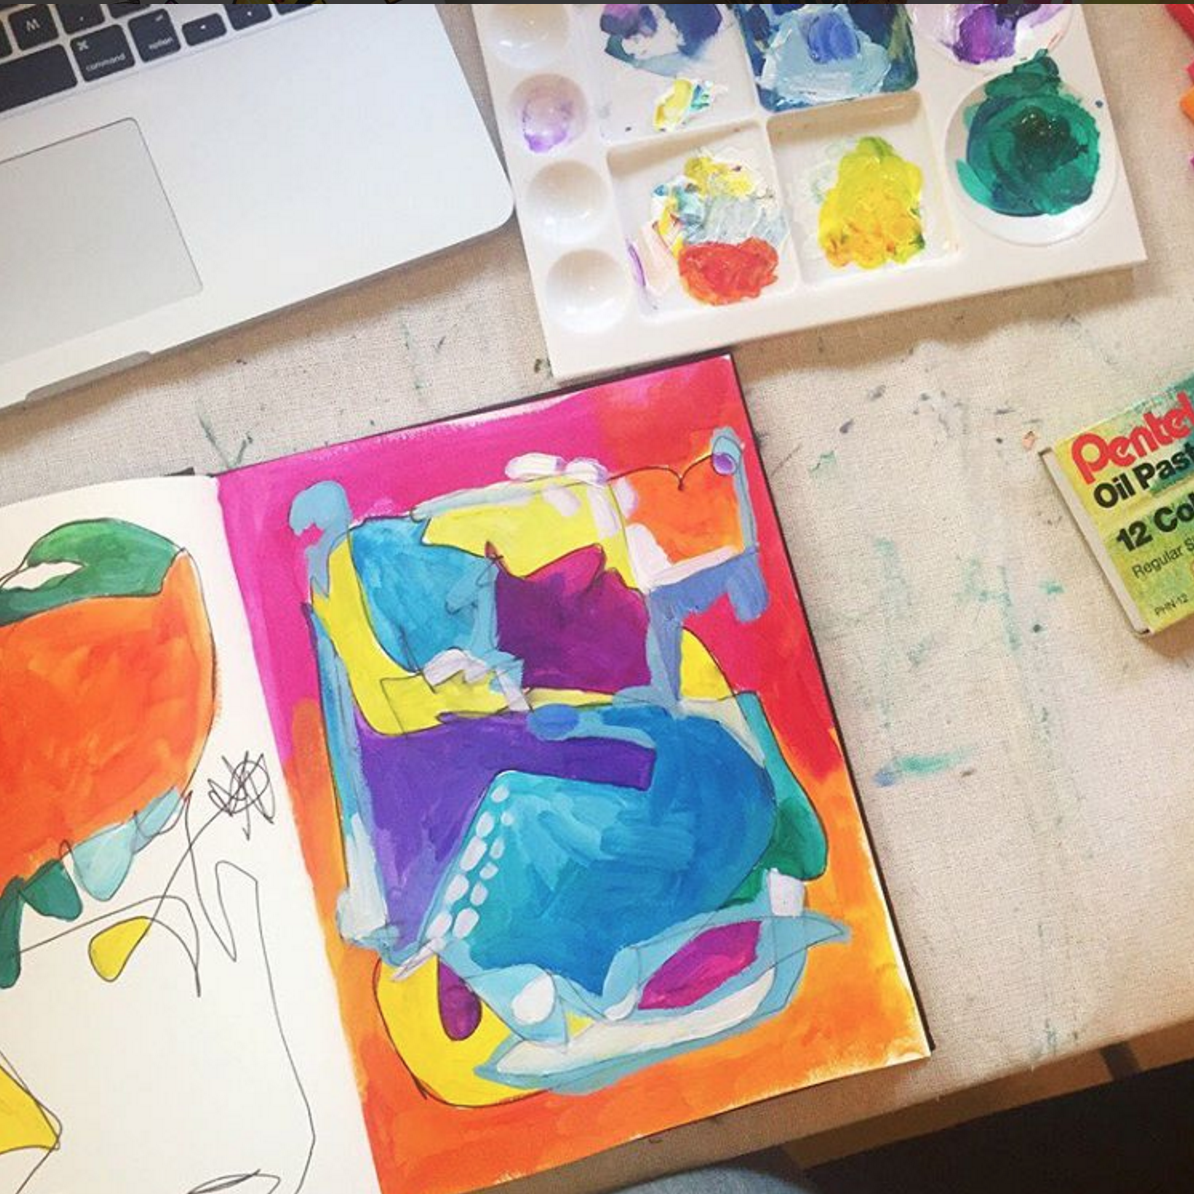


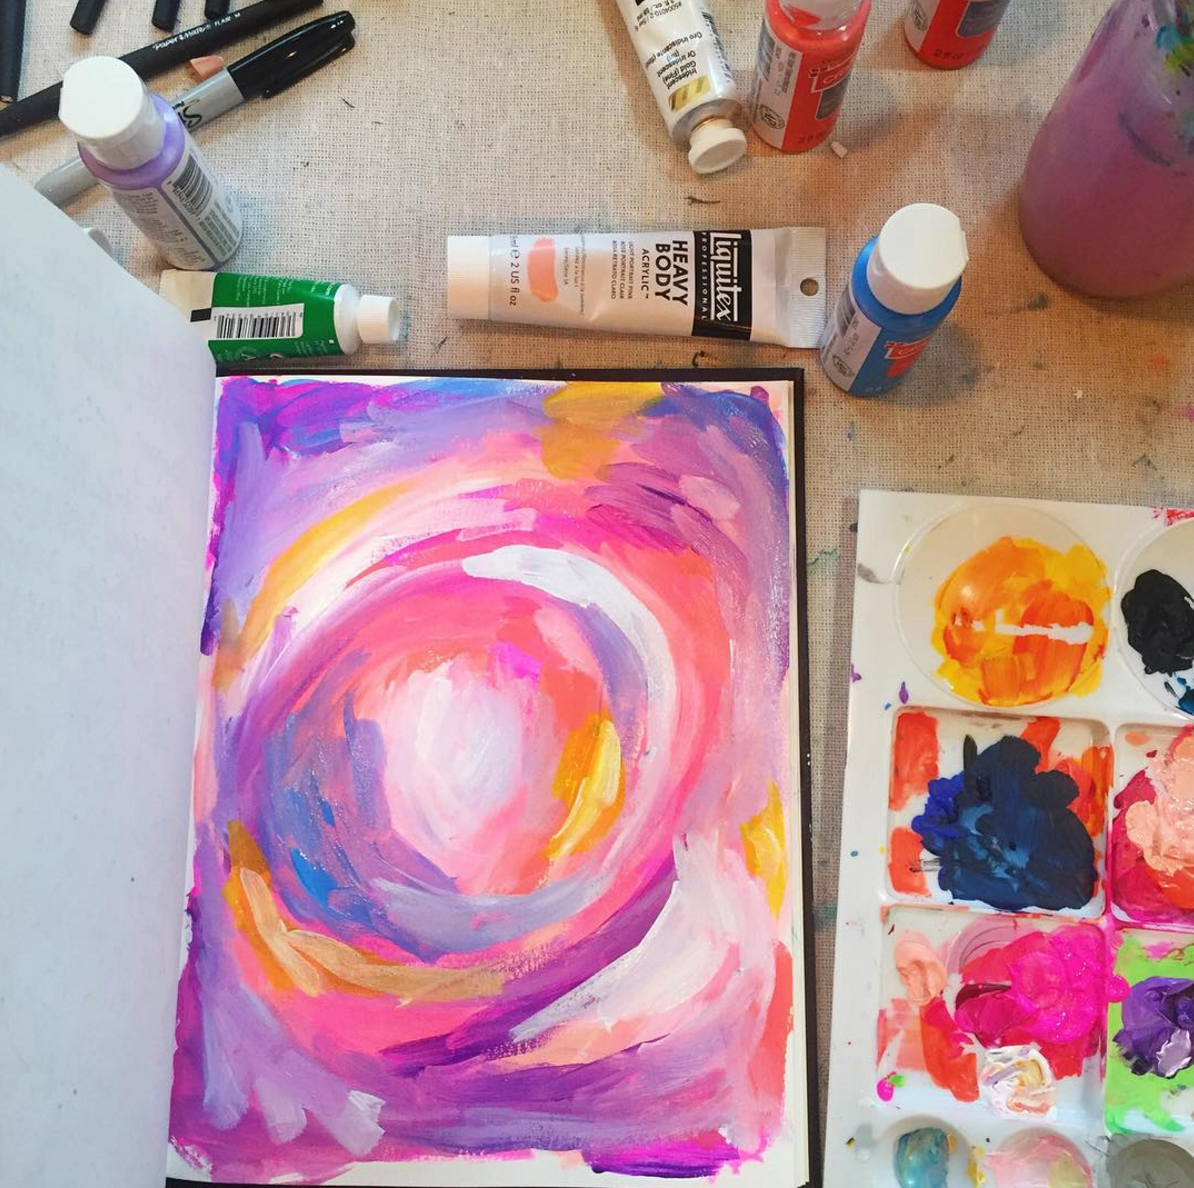

After I became more comfortable with the simple act of actually putting paint to paper (not just thinking about painting), I realized I still wanted to find MY unique voice.
My goal was simply to see how my own style would evolve and to try and uncover my unique voice through intentional daily practice.
(To give you an idea of that evolution, here’s a snapshot of the various styles I experimented with from January 2016 through September 2016!)



I’ve put together a beginner’s course to share my love of acrylic abstract painting! In the class I share my favorite supplies for painting with acrylics, as well as three different techniques you can use to create your own one-of-a-kind abstract art! Watch the Getting Started lesson below…
Acrylic painting been the most rewarding process, and I’m more convinced than ever that acrylic paint is an amazing medium to express your creativity.
In the rest of this article, I want to take what I’ve learned in my acrylic painting journey thus far and share some tips with you in case you too are itching to express your creativity through painting!
That first trip to the art store, wandering the aisles of Michael’s, I literally purchased about 20 small canvases to begin painting (thank goodness they were having a 50% off sale!)
In my head, at the time I thought “It’s not a painting if it’s not on canvas.” How wrong I was! You can paint on ANYTHING, but when you’re starting out, the most important thing is to choose something that is cost-effective AND not intimidating.
When you’re starting out, the most important thing is to choose something that is cost-effective AND not intimidating.
Canvases are unfortunately neither of those things.
I don’t know about you, but when I look at a canvas, it feels so permanent and so formal. That fear of “messing up” creates one more barrier between you and painting and that’s what you’re trying to avoid! Not to mention they’re not cheap.
My solution? Trade-in canvas for thick, sturdy watercolor paper when you’re starting out.
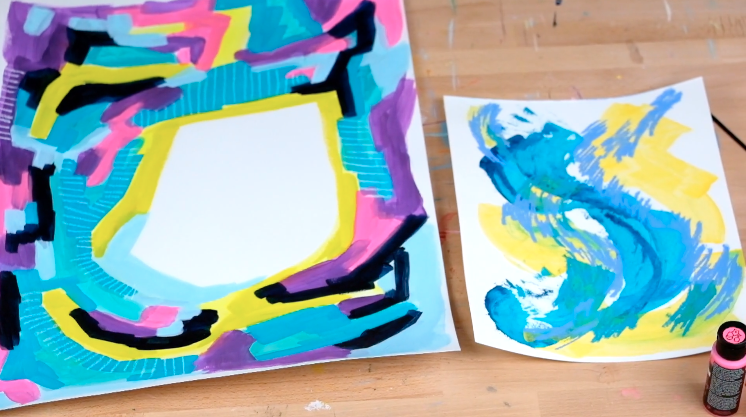
Once I made the move from canvas to paper, suddenly I was a lot more comfortable trying things and going through more painting experiments because I wasn’t as concerned with “messing up” a canvas. (Side note: there is no messing up in acrylics; you can always paint over it!)
Paper feels more playful, disposable, and approachable, plus it’s more cost-effective. Depending on the size, I’m able to get a pad of 30 9”x12” pieces of paper for just $10, as opposed to $16 each for a canvas.
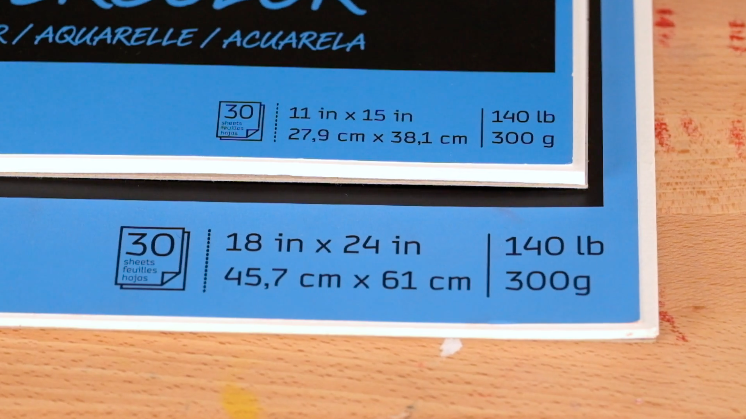
**IMPORTANT: If you do decide to pick up the paper, aim for at least “140 lb” paper. That number is a reference to the weight of the paper. The higher the number, the thicker or sturdier your paper will be. I’ve found that anything less (like 90 lb) just can’t hold up to the weight and wetness of your paint and it will bubble. **
Want an idea of something to start with? Here are some paper brands I’ve used and love!
When I started my daily painting project, I started by using these large 18″x24″ sheets of Canson Montval watercolor paper* which has a beautiful rich texture.

Since then I’ve switched to the Canson XL watercolor paper brand* which is still great quality, but it’s just a little bit less textured and happens to be more accessible as it’s available at Michael’s and my local art store. I’ve also gone down in size a few times (simply because I’m able to complete a painting more quickly) to the 11”x15”* and the 9”x12”*.
(FYI: links with * are Amazon Affiliate links and I get a small commission if you buy awesome art supplies through them at the same great price you normally get!)
Speaking of supplies, the next BIG tip when getting started with acrylics is to…
Like I said, when I started getting into painting, knowing which supplies to invest in was probably the most confusing part. I parked myself in a Michael’s aisle for about a half-hour wondering what paintbrushes I should get and what the heck the difference was between the paint in the “professional” section vs the “craft” section.
So let’s try to give you a little more direction, shall we? Here’s the biggest thing for you to know about acrylic painting supplies.
First and foremost, a HUGE disclaimer:
Everyone’s preference for acrylic painting materials is different.
Every paint has a different consistency, every brush has a different give and every paper creates a different texture. On top of that, every ARTIST (pst. That’s you!) has a different vision and spirit they’re bringing to their painting.
That’s why it’s so important for you to test a wide VARIETY of supplies so that you can see how each supply impacts your painting and the overall aesthetic of what you’re creating.
All that said, here are some basic things I’ve learned about the most important supply — paint — that may guide you.
First off, yes, you can totally mix “professional” grade acrylic paints with regular ol’ craft paint, but there IS a difference in the quality and consistency from the cheap stuff to the expensive stuff.
There are basically three categories that acrylic paints falls in: (1) amateur or craft paint; (2) academic or student level; or (3) professional or artist’s level paints.
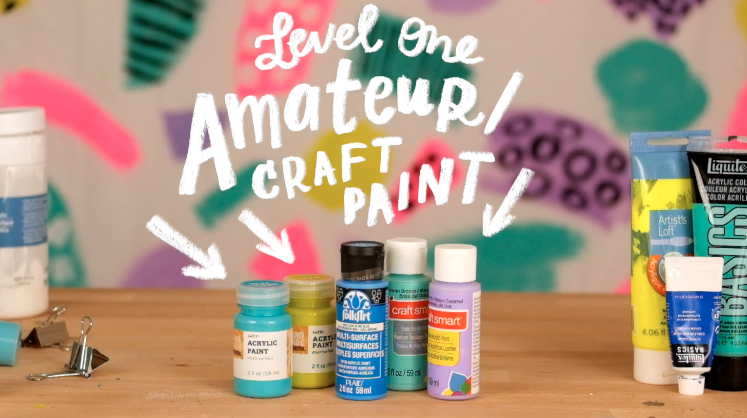
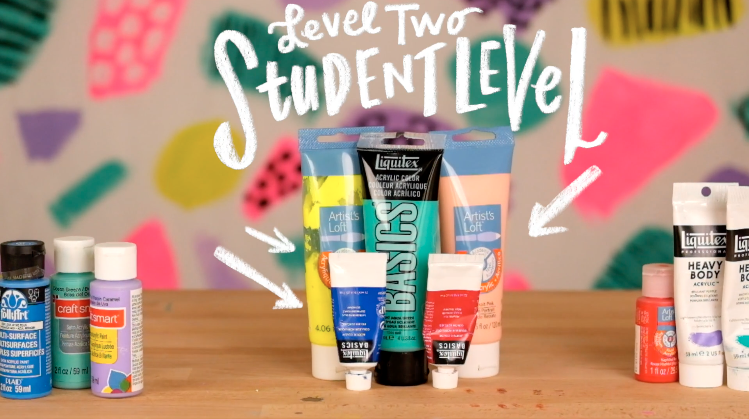
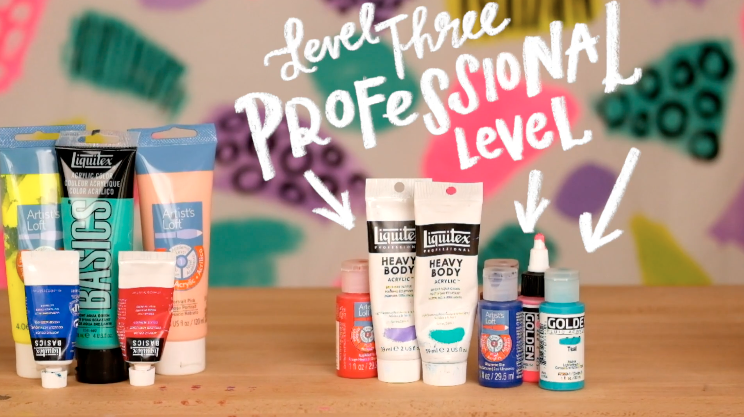
The main differences are in the quality of the pigment and the thickness/opacity of the paint. The higher you move up the quality spectrum, of course, the more expensive your paint will be.
So, what’s worth investing in? Well, I’ll tell you what I keep in my studio. The majority of paint I own is the first level — basic amateur craft paint — and that’s because I paint A LOT and I’m not too concerned with the long-term adherence of my paint to my paper or canvas.
I love craft paint because it’s cost-effective and comes in a wide variety of hues. I can also use it as a base to mix in my more expensive, higher quality paints, which makes them last longer in my studio.
One student-level paint that’s great to start out with is the Liquitex BASICS paint*. When I was beginning, I invested in a variety pack of the small tubes and that got me acquainted with the thicker, richer paints. Now I buy the occasional bigger tubes because I know what colors to go for, but if you’re looking for a middle of the road option to get started, it’s a good one.
Finally, my two favorite paints I’ve experimented with are the Liquitex Heavy Body Acrylics* and Golden Fluid Acrylics* for two different reasons.
Texture of the Heavy Body Acrylics in action:
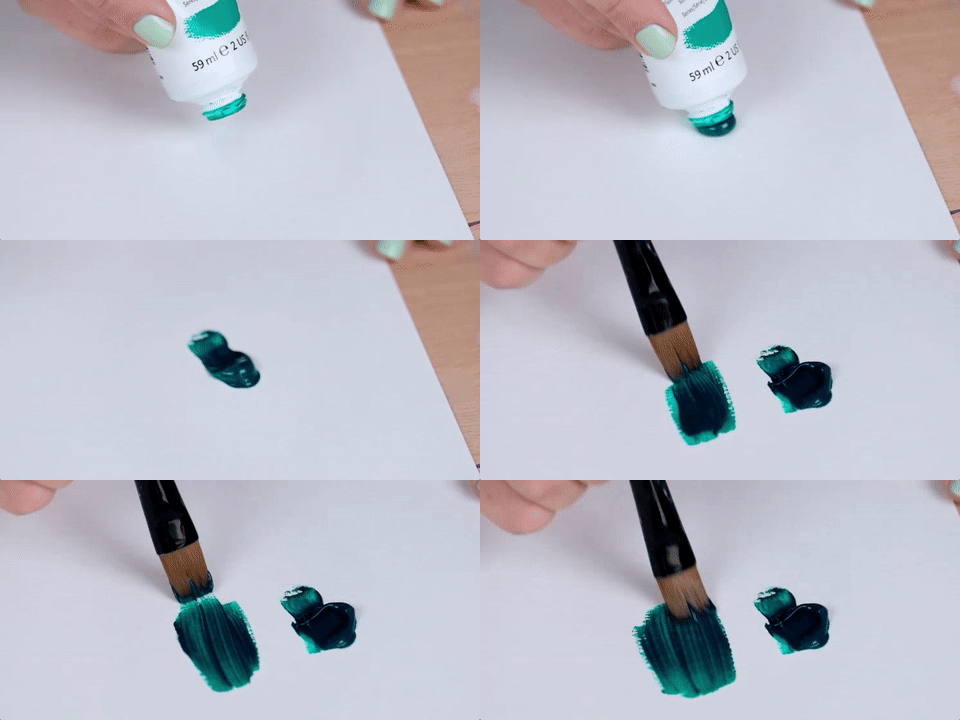
The Heavy Body Acrylics are rich and buttery and SUPER thick.
I love using them when I want a very strong, opaque color, and as I mentioned, I use them to mix with my craft paints to give them more weight and hold.
Texture of Golden Fluid Acrylics in action:
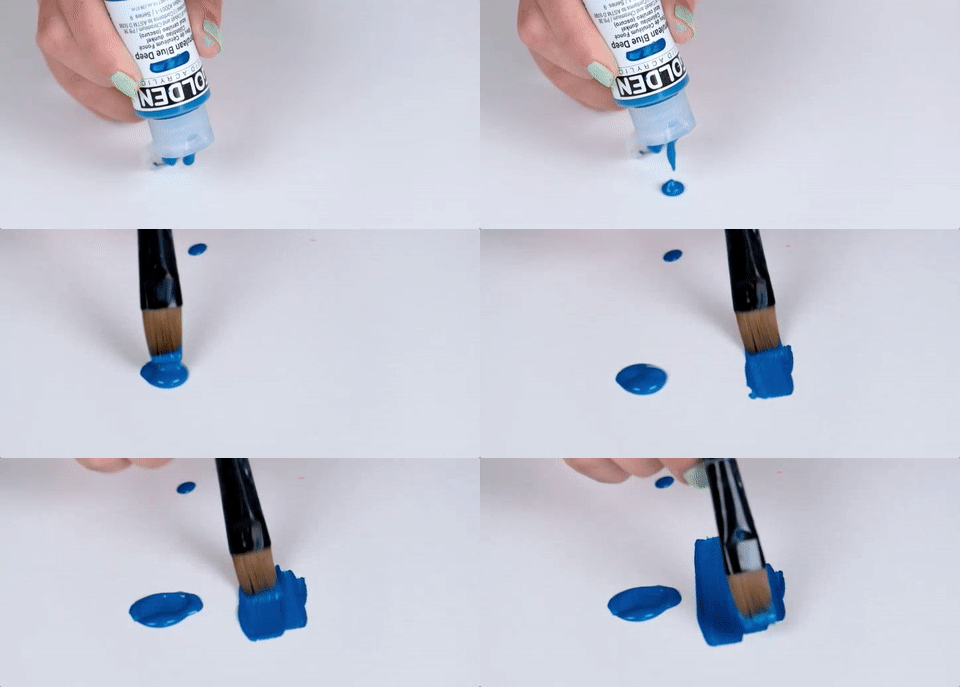
Fluid Acrylics, on the other hand, are very thin, almost runny, but the pigment is rich and velvety and strong.
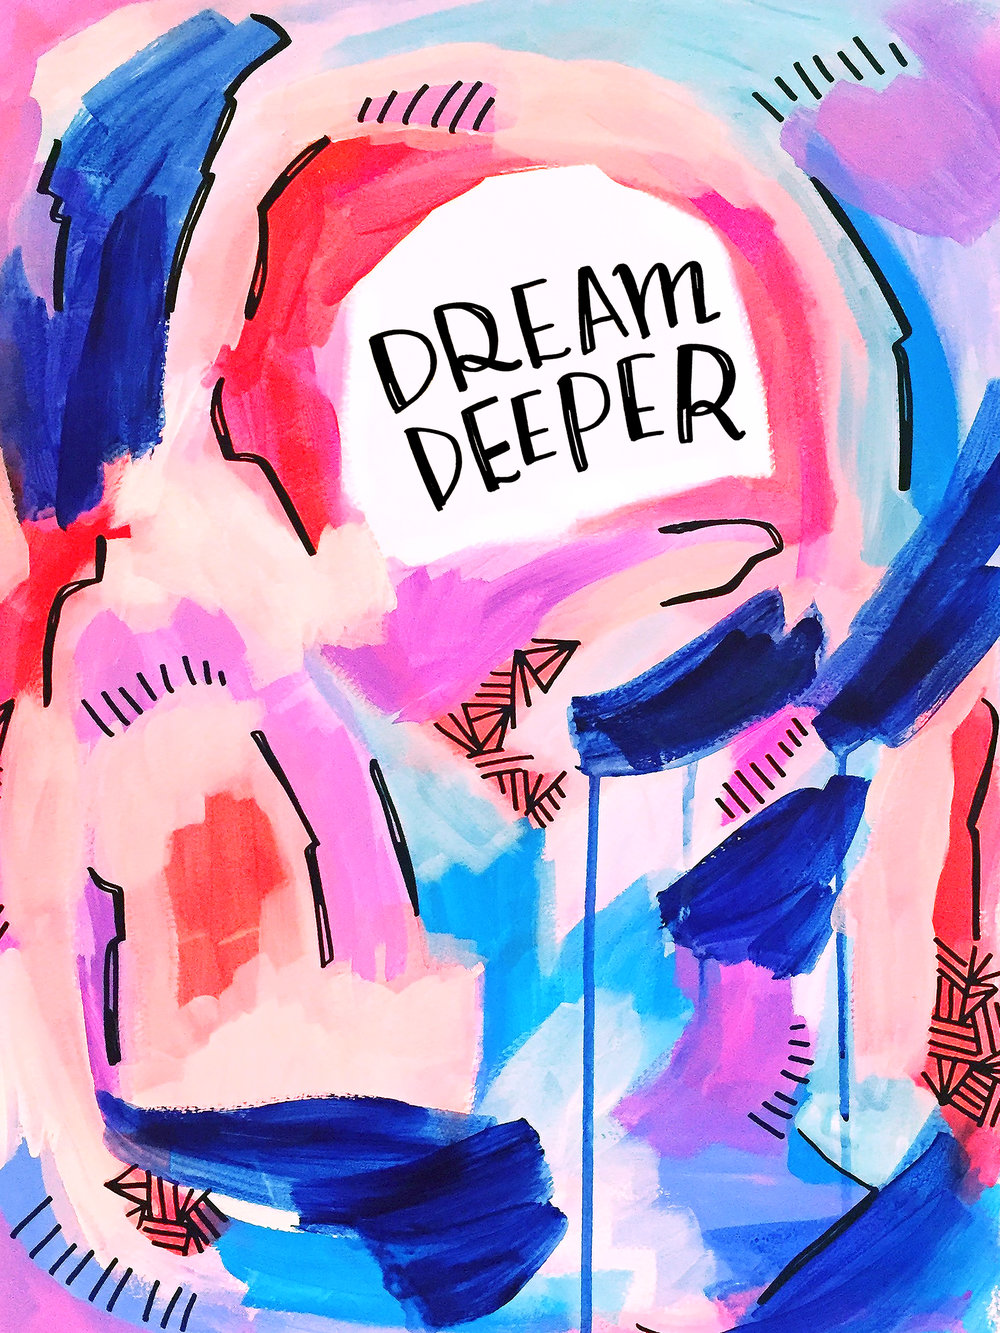
This type of paint can create completely different marks than paint of a thicker viscosity and I love experimenting with it, especially to get that “drip” effect that you see in the pieces below:
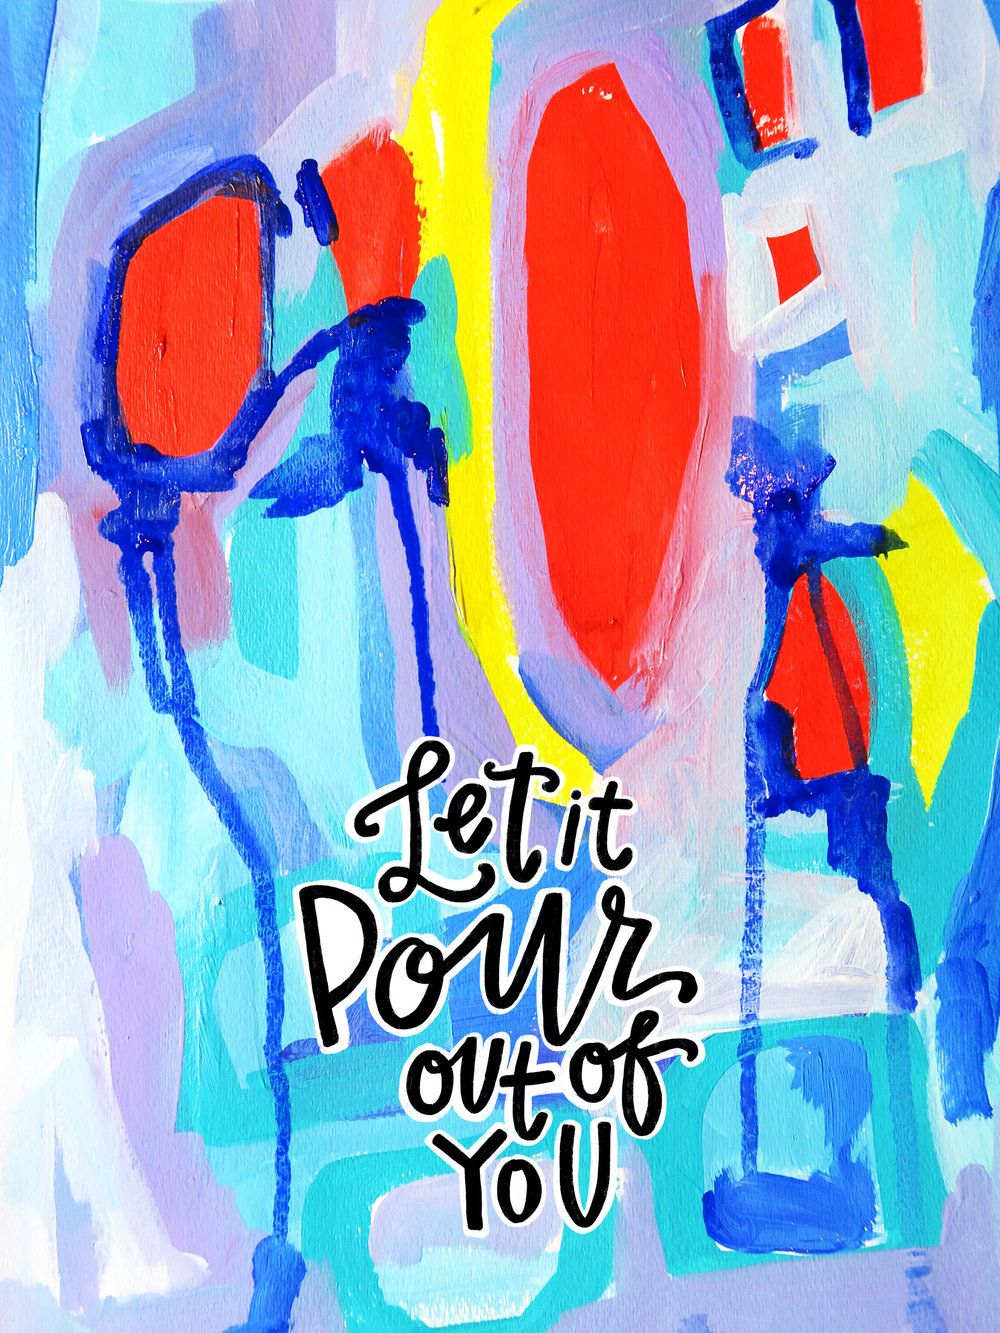
Again, the only way to know what YOU like is to try out a variety of supplies. I recommend setting an introductory budget for yourself and getting a diverse range of quality levels and brands to find out what you love best.
I’ve put together a beginner’s course to share my love of acrylic abstract painting! I’ll walk you through my favorite supplies for painting with acrylics, as well as three different techniques you can use to create your own one-of-a-kind abstract art!

A few months back Jason and I were baking and I wondered if I could use wax paper to create texture on my paintings. I’ve been experimenting with wax paper in my work ever since and I’ve discovered at least 10 different ways to use it in my paintings to add texture and spontaneity.


Okay, once you have a wide variety of supplies in mind, you might be wondering… what color paints should I buy? Which leads me to my next tip…
I’m obviously a sucker for bright, VIBRANT colors. (What? You couldn’t tell? ?)

I’ve always gravitated to the energy and inspiration I get from colors that are very saturated, so I tend to scoop up just about every bright or slightly bright color I can find, and I steer pretty clear of earth tones and more dull or shaded tones.
As for you, ask yourself what colors you most gravitate toward not just in art but in life.
Do you feel connected to the tranquility and softness of pale pastels? What about the grounded boldness of dark and moody earth tones?
Look to your wardrobe and interior design style for clues.
What things do you find yourself loving when you’re in the home decor aisles of Target? Vibrant, bold throw pillows or earthy, rich accents?
Color ultimately reflects and communicates emotion.
Choosing what color palettes to paint with is your opportunity to do what resonates with YOU, and the beauty of abstract painting is that you don’t have to worry about your palette matching a certain subject or landscape.
One fantastic tool for uncovering your color affections is Pinterest! Start a board of color inspiration and see what you start to pin. Then search your visual inspiration for color palettes that you may not have thought of on your own.
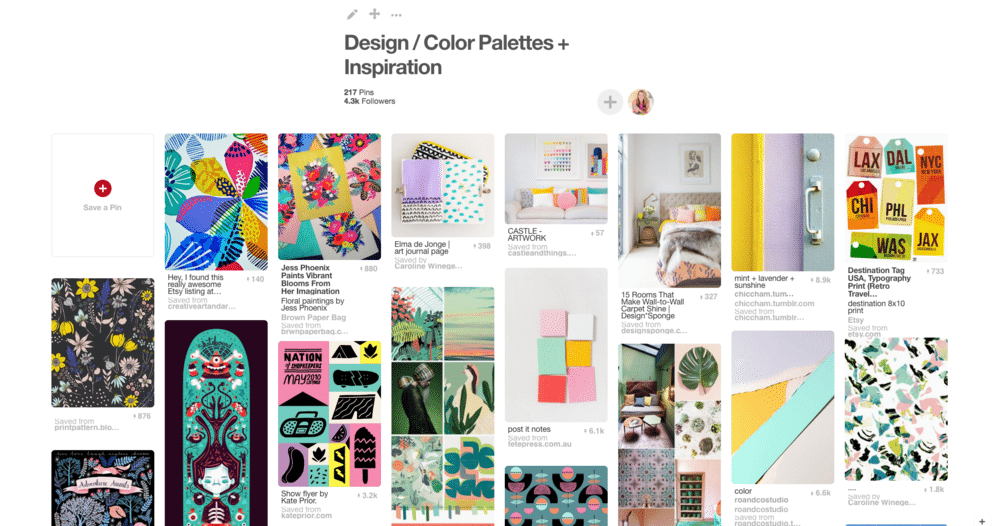
The thing about color is that there are literally INFINITE possibilities, and while I love to go with my instincts when selecting colors, sometimes I like to switch it up and pluck my palettes right out of inspiration I find.
For a while, I would actually build color palette mood boards, tape them up in my studio and then use them as inspiration in my abstract paintings. It was so much fun! I could interpret the color scheme in my own way. You can see examples of that here:

Sometimes I’ll also draw out color inspiration from one single photo. And the best part — you don’t need Photoshop to put these together! You can use a free and simple tool like a Google Doc/Google Slides presentation (like I do below) or a Keynote/Powerpoint presentation. (Pro tip: To get the colors from the photo, I use this Chrome extension, Eye Dropper.)
I just pull up this inspo doc up on my iPad while I’m in my studio if I want color palette inspiration!
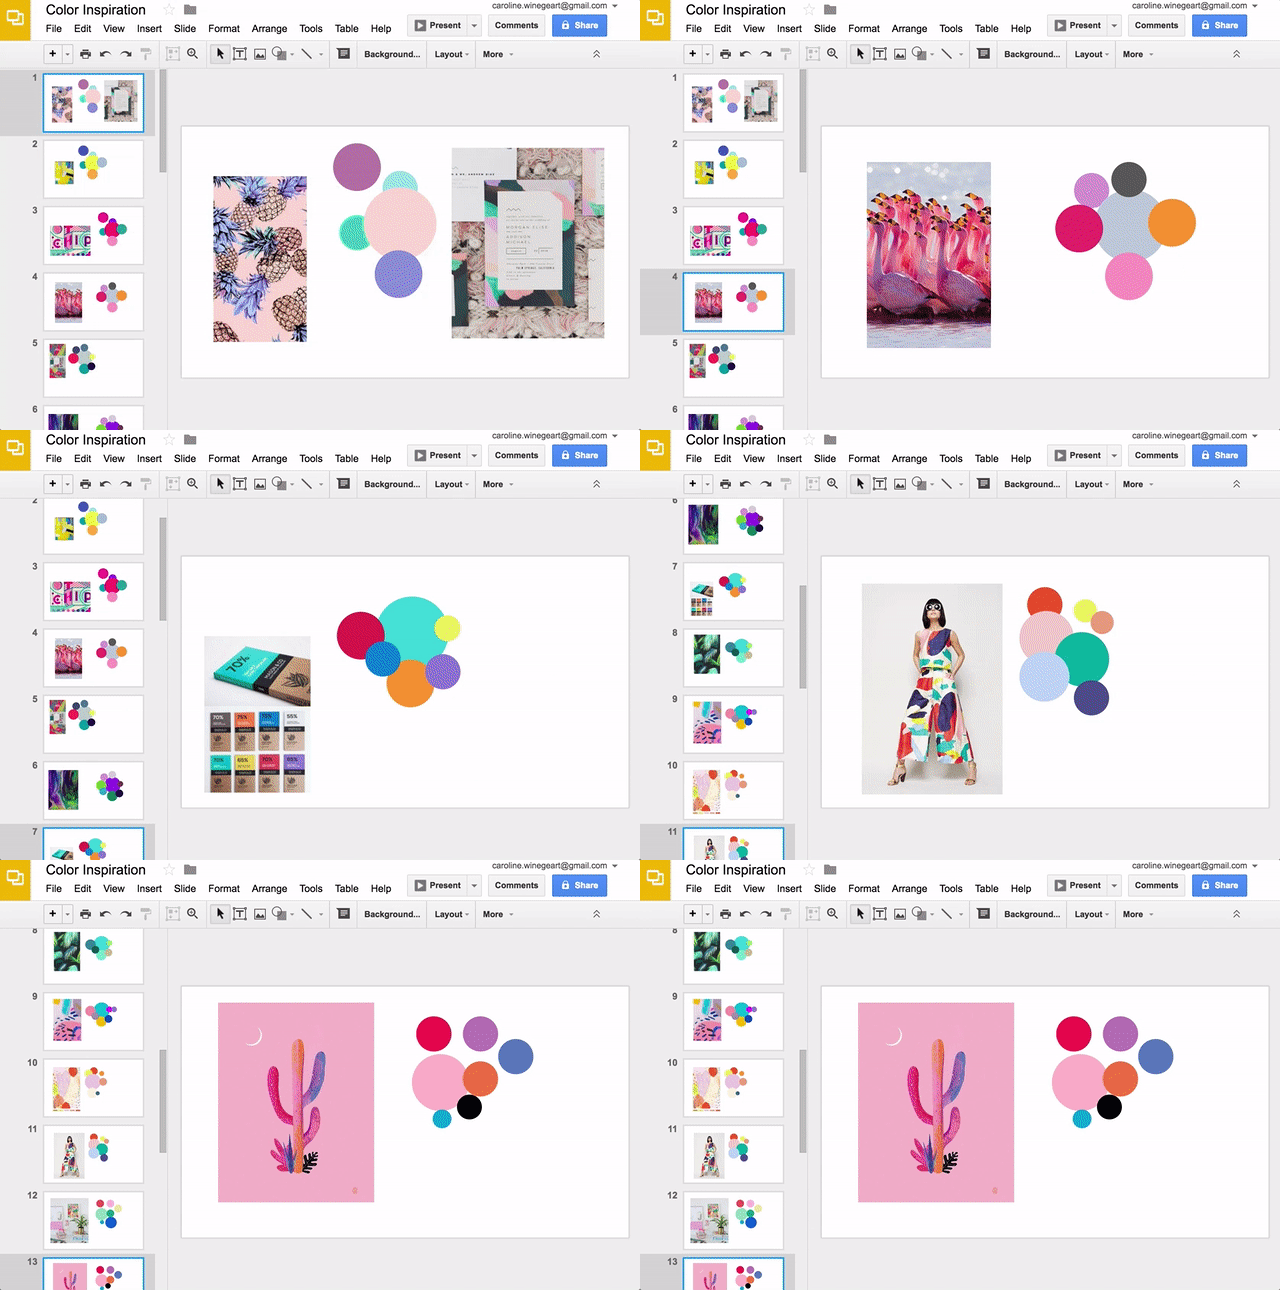
Again, remember that color palettes, just like materials, will require experimentation and exploration. Your color preferences may change over time and that’s perfectly fine.
Still, starting with a general idea of what colors you want to buy/work with might help you overcome that overwhelming feeling that I had when I started out.
The ultimate tip to getting started with painting is simply, well, BEGIN! Forget whatever stories you’re telling yourself about what supplies you NEED (turns out, you actually do not need an easel to be an artist ?) or what you are or aren’t good at and just dive in.
The truth is, you can read articles (like this one) or do ALL the Google searches in the world to see how the “experts” do it, but ultimately you’ll never uncover your unique artistic voice unless you devote time to making things and putting in the practice.
You’ll never uncover your unique artistic voice unless you devote TIME to making things and putting in the practice.
Painting is such a beautifully therapeutic exercise and I really do believe that it has the power to heal and TEACH us things about ourselves that other things just can’t. It’s a way to express your feelings and instincts in a tangible, visible way.
So throw whatever judgments you have out the window, go to your nearest art store, grab a few things and simply START PAINTING. I know you’ll be glad you did!
Painting has been the most amazing gift in my life and it’s helped me see myself more fully as an “artist” — something I was always afraid to call myself before.
If you need a tiny boost to get started, sign up for Acrylic Explorations and I’ll walk you through my own painting process MUCH more in-depth. I take you through the materials in my studio and share with you three different acrylic processes from start to finish.
For just $35, you get:
+ Lesson 1: Welcome / Your Creative Mindset
+ Lesson 2: Class Supplies / In-depth videos on paints, paper, brushes and more.
+ Lesson 3: Basic Abstract Art Properties / Basics of Color and Color Mixing
+ Lesson 4: Let’s Paint! / 3 Different Abstract Art Techniques from Start To Finish
+ Lesson 5: Your Class Project
Click the image below to get started or click 🎨 here.

Hope you enjoyed this post, and remember…
I asked you guys what questions you were most curious about when it comes to my artistic process, my Abstract Affirmations Daily project, and opening up the MV Art Shop.
I got some great questions on Instagram so I decided to create a few Q&A videos to answer my favorites!
One question I get asked a lot is…
In the video below, I’m in my studio showing you first hand what brands I love to use, plus my super secret weapon: the best white paint pen of all time.
Click play to give it a watch!
+ Liquitex Heavy Body Acrylic Paint (Turquoise Deep)
+ Golden Fluid Acrylic Paint (Cerulean Blue Deep)
+ Folk Art Multi-Surface Craft Pain (Bright Pink)
+ Sharpie Permanent Markers, Fine Point, Black, 12-Pack
+ Paper Mate Flair Felt Tip Pen, Medium Tip, Black, 12-Pack,
+ Uni Posca Paint Marker PC-3M, Black, 3-Pack (Japan Import)
+ Uni Posca Paint Marker PC-1M White, 3-Pack (Japan Import)
Click here to view the whole playlist over on YouTube! If you have any other questions you want me to answer in another video, feel free to drop it in the comments!
When I started the process of researching how to turn this #AbstractAffirmationsDaily art project into prints, I was incredibly surprised to find that there is a staggering lack of information out there on how artists have been able to turn their creations into tangible, sellable items.
Trade secrets, perhaps? I don’t know.
What I do know is that many of you out there are creative people with an interest in making money doing what you love. (And I’m of the opinion that the world is a better place when more people are able to make money doing what they love.)
That’s why I want to offer this ongoing blog series, #SellYourArt. (Simple and to the point, yes?)
Throughout this series, my hope is to pull back the curtain a bit using my own experiences and report back on what I’m learning as I work toward selling prints of my artwork in the Made Vibrant Art Shop. Maybe it’ll help some of you take the plunge and start selling your art too!
Here are a few articles you can expect in the #SellYourArt series:
+ How to choose which platform to use to sell your art
+ How to estimate your business costs to see if your project is financially viable
+ How to choosing a printing method for your art prints
+ How to launch your shop using pre-orders
Let me just reiterate: I’m learning all of this for the very first time! I’m sure there are some of you out there that have experience selling your art online, and I hope we can start a helpful dialogue in the comments so that more makers out there will feel confident in getting their art out into the world and making it a financially sustainable part of their lives.
Now, on to the info!
Last week I shared with you the launch of the Abstract Affirmations blog feed to house each daily art piece and post.
The purpose of that was both personal — I wanted a place to see the entire collection together — and strategic — it’s important to build visibility and buzz for your work if you want to create enough demand to make money from a shop.
In this post though, I want to share with you the first few steps I took in the journey to launching the Art Shop, beginning with figuring out what platform to use to host my shop and handle the printing/order fulfillment of my art prints.
Based on my limited consumer knowledge, I saw my options for selling my art falling into three slightly different buckets:
As I considered each option, I saw definite benefits and drawbacks to each, which I’ll list out for you here:
Pros:
Cons:
Pros:
Cons:
Pros:
Cons:
So, what were the defining factors that led me to Option 3?
When it came down to it, I value having maximum control over the buying and shipping experience. I want the entire process to feel like Made Vibrant through and through, from the buying experience to getting your package in the mail. And I’m willing to take on the risks associated with that because I also highly value learning. I know that things are almost guaranteed not to go according to plan but I look forward to facing those challenges and adaption (and sharing every bit of it with you guys!)
I also feel comfortable enough with the audience I’ve built up on my own through this email list and on Instagram that the allure of using a third-party site wasn’t enough to persuade me to take the experience off my website and onto another. If I was an artist just starting out with no audience, I think I’d probably choose Option 1 or Option 2.
Anyway, I hope that helps some of you with the same big looming question I had in the beginning: Which platform do I use?
Of course, this was just one decision in a whole string of decisions I had to make when it comes to selling my art, but I look forward to sharing that with you guys in the coming weeks!
Next up I’ll be sharing with you how I estimated my costs and revenue before embarking on this endeavor so I could make sure selling my art was a sound investment of my time and money.
Side note: thanks to Self-Made Society email subscriber and artist Kristin Cronic for replying back to one of my emails with the RedBubble/FineArtAmerica options which made me realize I should go over these platforms more in-depth!
